
Latest News
5 Things We Love About The Porsche TaycanExploring Interior Photography
Share
Whether you’re an aspiring photographer thinking about taking on a new photography genre or a blogger who wants to share your home’s aesthetic on Instagram, sometimes, it might seem impossible to achieve results as those featured in design magazines.
Indeed, interior photography is one of the most challenging genres. The smallest detail can ruin the entire atmosphere of a shot. Yet, even a perfect interior is not enough to take a stunning photo. You have to choose the right gear, the best angle, and the most appealing composition.
Following several essential rules, you’ll be able to take magazine-worthy indoor photos. This article will take you through the main steps of taking interior shots. All you need is some time and inspiration!
What is interior photography?
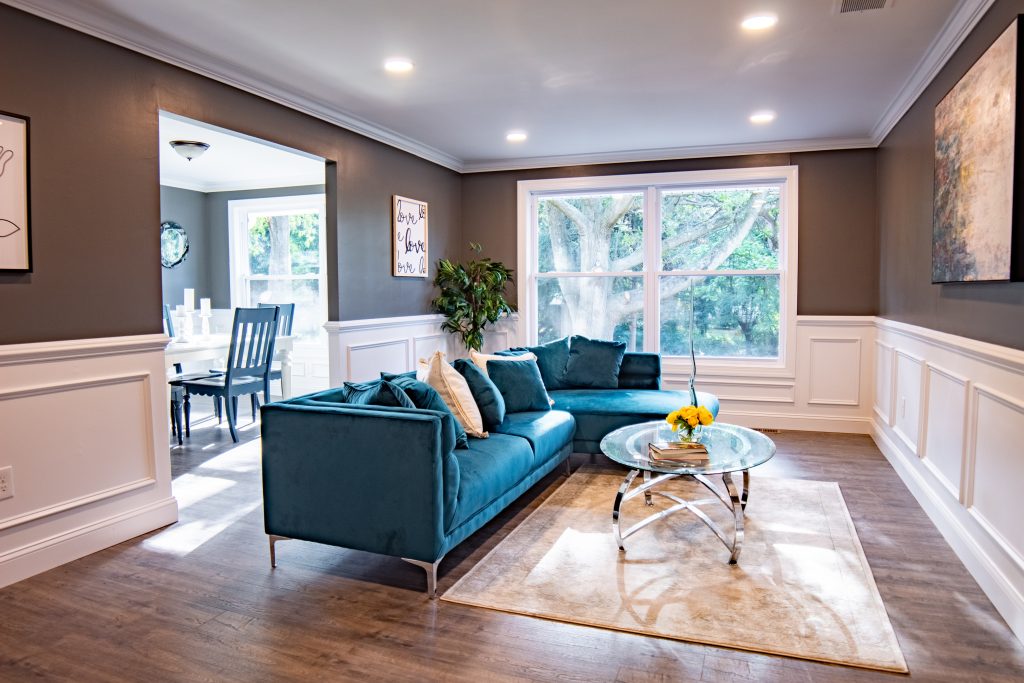
Indoor photos are an essential element of architectural and real estate photography, but interior photography is more than simply taking photos of walls and furniture. You need to convey the atmosphere of a specific place, making it look appealing and attractive.
It’s not always easy to express the feeling of a three-dimensional place with a two-dimensional image. The success of such attempts depends on the photographer’s skills, confidence, and willingness to generate creative solutions.
Dive Into Top Tips
1. Get to know the environment
Visit the place of an interior shoot beforehand to get a general idea of the space. First things first, try to feel the vibe of the place and its features — this will direct the whole shoot.
Check the orientation of the building and the directions of the windows to understand the movement of the light throughout the day. This way, you can calculate the best time to shoot each room or its parts, avoiding over- or under-exposure.
Explore possible angles to find the best ones to capture main elements of the room. Sometimes, you’ll need to reorganize furniture or other interior elements to make it look cohesive.
A site visit before shooting can also help you understand what gear you need to use. Sometimes, you’ll need to make the place look bigger or brighter. This means you may even need to rent the necessary equipment.
2. Style the room
Preparing a place for shooting is essential. This includes vacuuming, dusting, surface cleaning, and so on. Make sure the area is clean and ready. If you are shooting a place where someone lives or works, make sure all personal items are removed. Ask a client to put away distracting elements beforehand, such as cords and remotes.
Interior photography is very detail-oriented: all elements should work together to create harmony. If the place still looks cluttered, don’t be afraid to adjust decorative elements or remove them. You want the interior to look natural and beautiful, and nothing is more distracting than unnecessary decor. In the case of interior photography, less is more.
3. Choose your gear
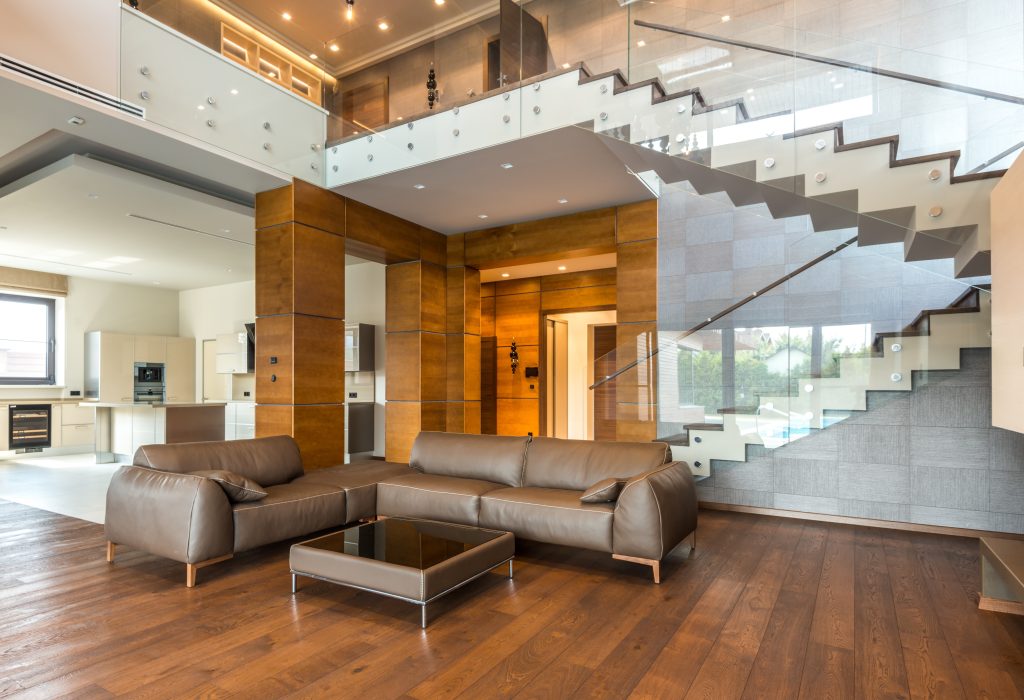
With a wide range of gear options, it’s easy to get confused and dazzled. With other photography genres, your skills and knowledge can balance specific lenses or any other gear you don’t have. Interior photography is different. Straight lines dominate almost all interiors, and they can be easily distorted. There is no space for mistakes since these deformations are difficult to edit in post production. That’s why you need to be clear about the gear you choose.
If you need to emphasize the size of the space or make it look bigger, go with a wide-angle lens. But if you have enough room, or your task is to show the interior along with design elements, wide lenses are not the right choice. A 24mm lens is considered the most universal for interior photography.
4. Turn off the lights
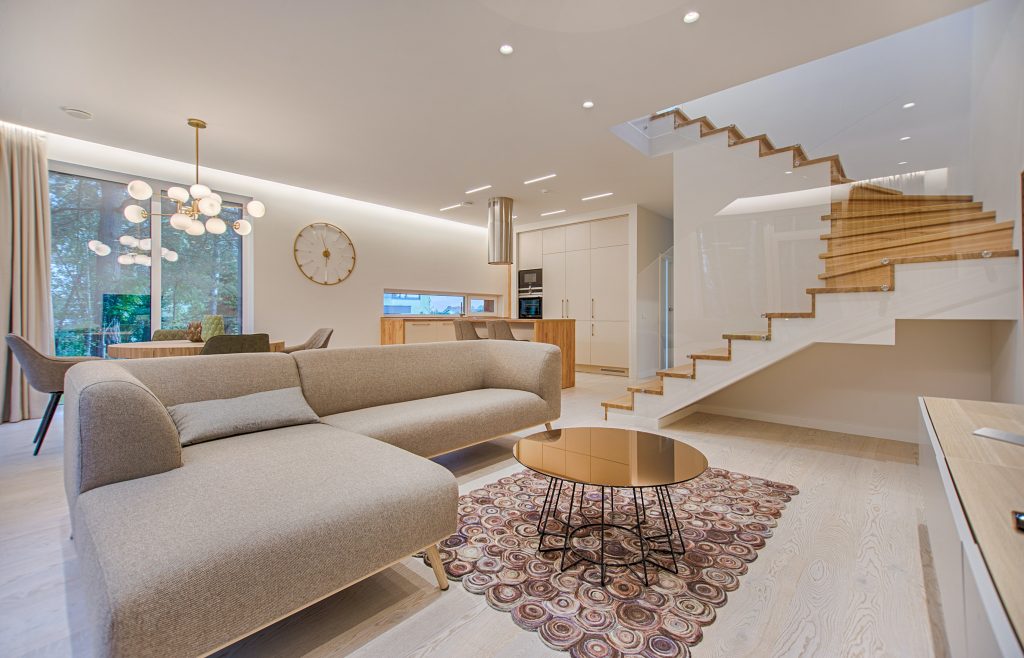
Advice to turn off the lights may sound unconvincing, since photography is all about light. Yet, keeping the lights turned off is a general rule for interior photography. Artificial light creates unappealing shadows that distract the eye from design elements and disturb the white balance. What’s worse, it won’t convey the interiors you’re shooting.
Use natural light instead. It works with every interior, making it look bright and appealing. If there are not enough natural sources, you might need flashes. However, all additional light should be diffused and its strength adjusted to keep a natural look. That’s why you’ll also need a softbox. But if you don’t have one, you can also bounce light by pointing your flash to the ceiling. This type of lighting is sometimes called “fill-in light” because of its secondary role. It keeps the natural light dominant, while illuminating problematic areas. This type of light also reduces the contrast between the brightest and darkest areas of the interior.


Popular Posts


Popular Posts
-
 Reconnect With Nature in Riviera Nayarit, MexicoDecember 9, 2022
 -
 5 Things We Love About The Porsche TaycanFebruary 20, 2023
 -
 A Guide to Visiting Liverpool, Nova ScotiaDecember 8, 2022
 -
 Garden Design Ideas To Make The Best Of Your Outdoor SpaceFebruary 10, 2023
 -
 Exploring Interior PhotographyDecember 7, 2022
 -
 EASY AMERICAN GOULASHDecember 8, 2022


